Interactive Mirror

Images courtesy of Pixabay
Making an Interactive Mirror
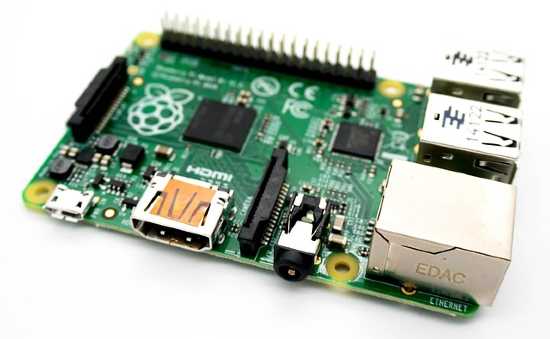
Probably the most complicated of the devices on this list, yes, a Raspberry Pi can even power a smart mirror for your home. At its heart, a smart mirror is mainly comprised of a two-way mirror with a monitor behind it. This monitor can show the weather and news, among other things. Now, several tutorials exist on the internet with different setups for their mirrors but for the sake of this instance, the setup will be a simpler one. For a more complicated and impressive example, a YouTuber named Eben Kouao has a video documenting his experience making a smart mirror with a full touchscreen interface, facial recognition, voice control integration, among other features. The tutorial on this page though won’t be as complex for time sake.
So first of all, while specific dimensions for your mirror and monitor can vary to your taste, it is important to make sure that the monitor being used has its ports on the side and not the back, as is common with many models. Additionally, one with a powered USB port can save on cables by powering the Pi board through the monitor instead of needing separate power cables for both. Now, building the frame doesn’t require as rigid of instructions, that is more or less up to the user but the main thing to keep in mind is to create slits in the frame so that cables can run through cleanly. Unlike the other two projects which used specialized operating systems designed for their creation, a standard OS called Raspbian can do the job. This is a blessing and a curse as it does make it more versatile but also means some more handiwork with the OS itself is necessary. This mainly involves rotating the orientation being displayed manually, and making some installations through the terminal. After this, additional software is downloaded and installed through a GitHub repository simply called MagicMirror.